 DOMUS GLOBAL
Before photographing an apartment for sale, clear distracting items, make the most of available light and agree on a plan for the session. The aim is not to make the home look like a showroom. It is to help a buyer understand the layout, the light and the property’s actual condition. You do not need to begin with a renovation just for the photographs.
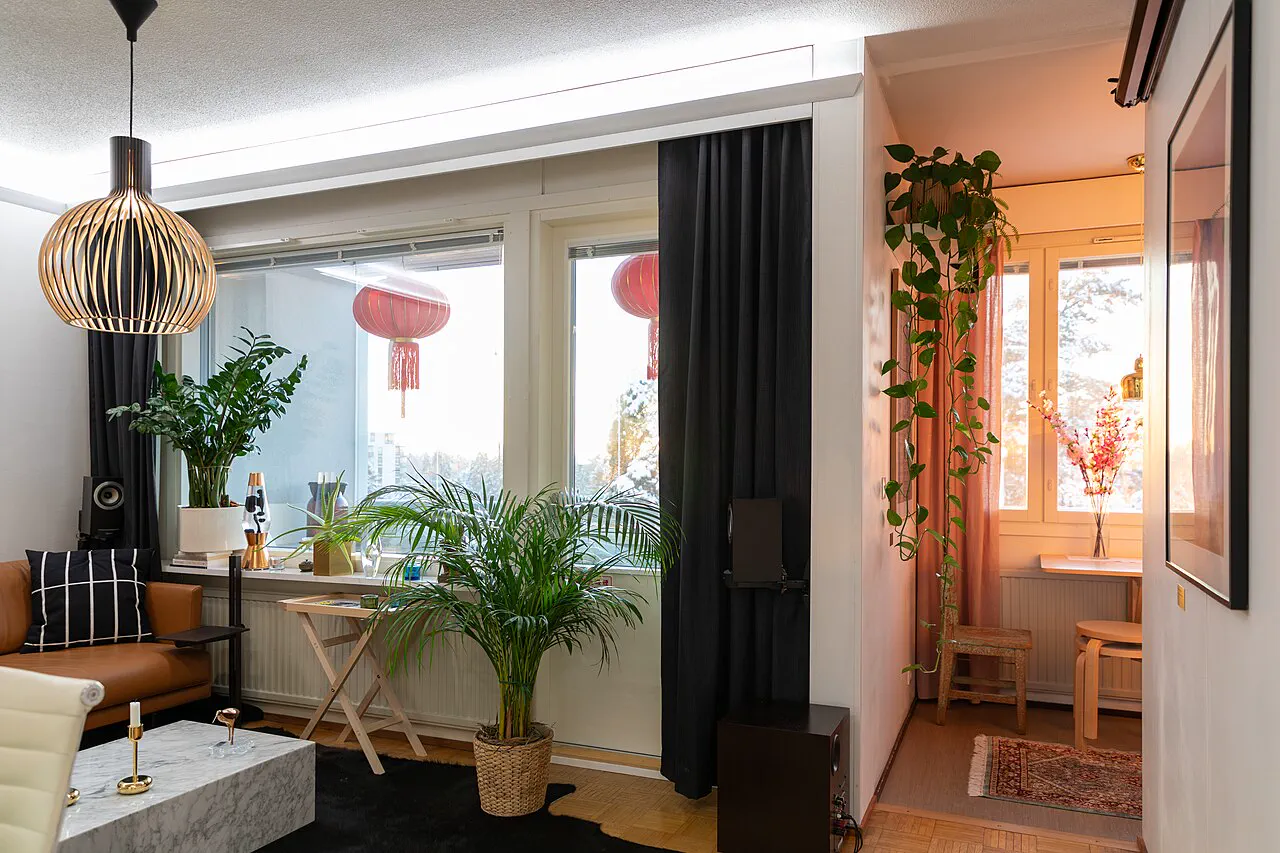

Plan the session before moving furniture
Walk through the apartment as if you were seeing it for the first time. Note the doorways, windows, routes between rooms and the features a buyer needs to understand. A close-up of a pleasant corner may work as an extra image, but it cannot explain how a room connects to the rest of the home.
Agree with the photographer on the order of the rooms, which furniture can be moved and where belongings can be kept during the session. If the apartment is occupied, prepare rooms one at a time rather than emptying the whole property. Discuss the timing and scope with the people who live there so everyone knows which areas will be photographed.
Clear surfaces and keep rooms understandable
Look at worktops, windowsills, open shelves, the dining table and the floor near the entrance. Put away a drying rack, bags, spare chairs or cables if they block the view of the space. Clean the kitchen worktop and sink; in the bathroom, arrange or put away toiletries, towels and cleaning products. Leave a clear passage through the entrance and reduce the number of shoes and coats on display.
You do not have to remove every sign of daily life. A desk and chair, for example, can help a buyer see how a small room is used. The aim is to keep objects from competing with the room’s shape and proportions. Check mirrors before the session: they may reflect the photographer, a private item or a room that is not ready yet.
Choose the light with the photographer
Open curtains and blinds, check that they work, clean visibly dirty windows and replace any faulty bulbs beforehand. These small jobs are easier to handle before the photographer arrives than while the session is under way.
Tell the photographer when direct sun reaches the living room and when the light is more even. Window orientation and weather can make one time suitable for one room but less useful for another. Agree on a time and, if necessary, an order of shots that takes those differences into account.
Protect privacy before taking photographs
Remove documents, correspondence, family photographs and anything else that could identify the people living in the apartment. Switch off screens or clear them of personal information. Look again in mirrors and reflective surfaces. It is safer to remove a private detail before the photograph than to rely entirely on noticing it in editing later.
Discuss balcony, garden and shared-area shots separately. Check that neighbours and their private belongings do not appear unintentionally. If other people occupy the property, agree in advance on the timing and which parts of their living space can be included.
Show the property honestly
Tidying makes the apartment easier to read; it should not conceal a significant problem. Do not place decorations over damage solely to keep it out of a photograph. If a room needs work or has an important limitation, make sure the information is included in the description and explained to interested buyers.
Editing can address technical issues, such as a picture that is too dark, but it should not alter features that matter to someone assessing the apartment or give a misleading impression of its condition. If you use a visualisation of a possible renovation, label it clearly; do not present it as a photograph of the current interior. The images and the written description should support each other.
Review the set from a buyer’s perspective
After the session, review the photographs as a sequence rather than selecting only individual favourites. Does the set cover all rooms included in the offer? Can a buyer understand how they relate to one another? Several near-identical living-room photos are less useful if another room is missing.
If the offer includes a balcony, parking space or storage unit, agree whether and how each should be shown. Choose a main image that represents the apartment accurately and remains clear as a small thumbnail. Note which room appears in each image so the captions and order are not mixed up later.
Hand over the files and listing details
Agree with the photographer on the file format and the images needed for the listing, then receive them through an agreed channel. Clear file names such as “kitchen” and “bedroom”, plus a suggested order, help the person preparing the listing. Confirm that the photographs may be used in the listing, and keep the final selection separate from draft versions.
Alongside the files, pass on information that a photograph cannot explain: what is included in the offer and which aspects of the property’s condition need mentioning. Before sharing the selection, check the images, captions and any visible personal information once more.
Session-day checklist
- Clear the walkways, worktops and windowsills.
- Open curtains and blinds; check that the lights work.
- Remove documents, personal photographs and information on screens.
- Prepare the kitchen, bathroom and entrance, and check reflections.
- Agree the room order, any additional spaces and points to explain in the listing.
Planning a sale and want to discuss how to present your apartment? Contact DOMUS GLOBAL with a description of the property, your stage of preparation and the questions you would like to address.